


Table of Contents
Recording radio-ready vocals doesn’t require breaking the bank with fancy microphones or expensive studio gear. With the right techniques, even a modest home setup can produce professional-quality vocals. The key is understanding how to maximise what you have and applying tried-and-true methods that engineers and producers swear by.
In this article, we’ll dive into six secrets that can help you achieve radio-ready vocals without the need for pricey gear. Whether you’re a beginner with basic equipment or a seasoned vocalist looking to up your game, these tips will help you deliver polished and high-quality vocals that sound ready for the airwaves.
1. Room acoustics matter more than you think
One of the most overlooked aspects of recording vocals is the environment in which you’re recording. Even with a high-end microphone, poor room acoustics can drastically reduce the quality of your vocals. But here’s the secret—you don’t need an expensive studio to fix this.
DIY acoustic treatment
- Find a quiet space: Choose a room with minimal external noise and no hard surfaces for sound to bounce off, like kitchens or bathrooms.
- Use blankets and cushions: To minimise reverb and echo, hang thick blankets or duvets on the walls. Place pillows in corners to trap sound reflections. These everyday household items can work wonders to deaden the room’s acoustics.
- Close proximity recording: Recording close to the microphone reduces the room sound picked up by your mic. This minimises the impact of poor acoustics.
Benefits of acoustic treatment
- Clarity: Clearer vocals without annoying background reverb or echo.
- Consistency: Every vocal take will sound consistent, allowing easier mixing and mastering later.
- Professional Sound: Treated rooms prevent unwanted frequencies, resulting in a cleaner and more professional vocal tone.
2. Vocal technique is key
You can have all the gear in the world, but your recordings will fall flat without good vocal technique. Mastering control over your voice is one of the cheapest yet most effective ways to improve vocal quality.
Warm-up and breathing exercises
- Vocal warm-ups: Spend 10-15 minutes warming up your voice before recording. Simple scales, lip trills, and humming exercises will loosen up your vocal cords and improve tone.
- Controlled breathing: Focus on diaphragm breathing, which will give you more control and stability in your singing. Controlled breath support leads to more powerful and consistent vocal performances.
Posture and mic technique
- Proper posture: Standing while recording improves airflow and allows your voice to project naturally. Keep your shoulders relaxed, and don’t slouch.
- Use the mic correctly: Avoid being too close or too far from the microphone. A good rule of thumb is to maintain a distance of about 6-8 inches. If you’re recording loud parts, step back slightly to prevent distortion. For quieter moments, move in closer to capture intimacy.
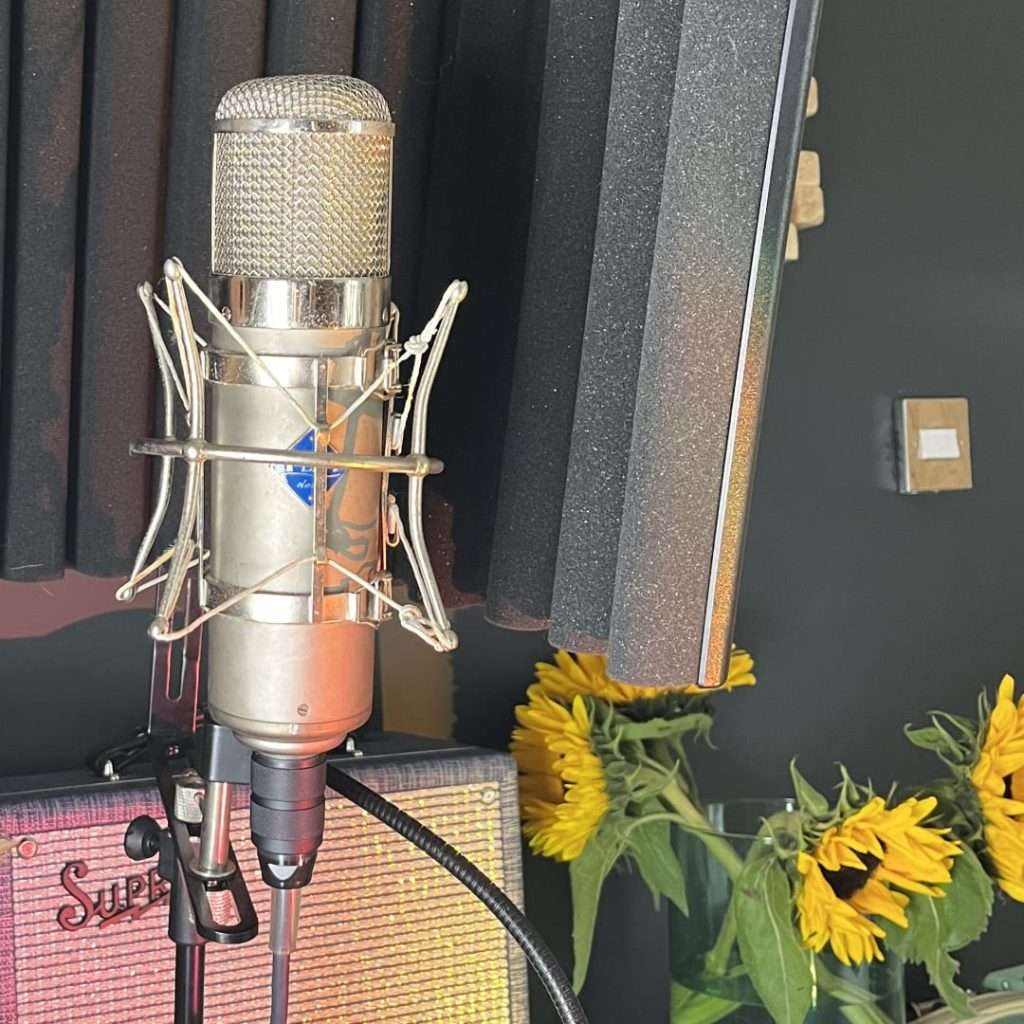
3. Invest in a pop filter and shock mount
When it comes to getting radio-ready vocals, there’s one small investment that can make a big difference: a pop filter and shock mount. These inexpensive accessories will drastically improve the quality of your vocal recordings.
Why you need a pop filter
- Plosive reduction: A pop filter reduces harsh plosive sounds like “p” and “b,” which can cause unwanted bursts of air that distort the microphone signal.
- Better sound balance: Pop filters help create a smoother, more even recording by softening certain hard consonant sounds.
The importance of a shock mount
- Vibration control: A shock mount isolates your microphone from vibrations and bumps that might occur while recording, such as accidental taps on the mic stand or floor movements. This results in cleaner recordings free of low-frequency rumbles or handling noise.
Budget-friendly options
- You can easily find pop filters for as low as £10-£20 and shock mounts for under £50. These small investments can make a significant difference in your final vocal mix, making your recordings sound polished and professional.
4. Master the art of vocal compression
Compression is the secret sauce in achieving a professional vocal sound. It’s a technique used to even out the dynamic range of your vocals, making softer parts louder and taming louder sections so they don’t overpower the mix.
What compression does
- Consistency: Compression ensures that all parts of your vocal performance are heard clearly. This is especially important for radio, where listeners expect a smooth and even vocal delivery.
- Punch and clarity: Proper compression adds punch to your vocals while maintaining clarity. It brings out the nuances of your voice without losing energy in the mix.
How to use compression on a budget
- Free plugins: Many DAWs (digital audio workstations) come with built-in compressors, but if you’re looking for more control, there are free compressor plugins like the TDR Kotelnikov or Rough Rider 3 that offer excellent features for vocals.
- Settings to start with: Set a threshold where the compression kicks in when your vocals get louder. A ratio of 3:1 to 5:1 is ideal for vocals, with a fast attack time and a slower release to smooth out the vocal performance.
Tip: Don’t over-compress! Too much compression can make vocals sound lifeless and unnatural. A little goes a long way, so experiment until you find the sweet spot.
5. EQ like a pro
Equalisation (EQ) is another powerful tool for achieving radio-ready vocals, allowing you to shape your sound and make it fit perfectly in a mix. With proper EQ, you can enhance the best frequencies in your voice while cutting out unwanted noise.
Basic EQ guidelines
- Cut the lows: Use a high-pass filter to remove any low-end rumble below 100Hz, which can muddy up your vocals.
- Boost the presence: Add a gentle boost around 2-5kHz to enhance clarity and presence. This range helps vocals cut through the mix and gives them that radio-ready sheen.
- Control the harshness: If your vocals sound too sharp or harsh, try cutting slightly around the 3-7kHz range. This can help tame sibilance or piercing frequencies.
EQ on a budget
- Stock plugins: Most DAWs come with capable EQ plugins that can help you achieve great results. Even free EQs like Voxengo Marvel GEQ or TDR Nova offer high-quality equalization for fine-tuning vocals.
- Tips for success: Always use EQ sparingly. The goal is to enhance the natural sound of your voice, not transform it entirely. Subtle EQ adjustments are key to maintaining vocal integrity.
6. Double tracking and vocal layering
One secret technique used by many professional producers to achieve fuller, radio-ready vocals is vocal layering or double tracking. By recording multiple takes of the same vocal part and layering them, you can create a more polished and powerful sound.
How to layer vocals
- Record multiple takes: Sing the same part multiple times (usually 2-3 takes) and layer them in your mix. This creates a natural chorus effect and adds depth to your vocals.
- Use panning: For added width, pan one take slightly to the left and the other to the right, while keeping your main vocal take centered. This creates a wide stereo image, giving your vocals more space in the mix.
- Harmonies and ad-libs: Add harmonies or ad-libs to specific parts of your track to bring variety and texture to the vocal performance. Layering harmonies over the main melody creates a fuller and more engaging sound.
Tips for budget-friendly vocal layering
- Free plugins: There are free plugins like Multiply by Acon Digital that can simulate vocal doubling if you only have one good take. However, for the most natural sound, always aim to record multiple takes.
- Pitch and timing correction: If your vocal layers are slightly off-pitch or out of sync, use free tools like MAutoPitch or stock pitch correction plugins to fine-tune them. Just be careful not to overdo it, as this can sound unnatural.
Bonus tip: use reverb and delay wisely
Reverb and delay can add space and depth to your vocals, but too much can drown out your voice. Instead, use them subtly to give your vocals a professional feel.
How to use reverb and delay
- Short reverb: A small room or plate reverb can give your vocals a sense of space without overwhelming them. Stick to short decay times to maintain clarity.
- Slapback delay: A quick slapback delay (50-150ms) can add thickness to your vocals without cluttering the mix. Use this sparingly, especially in verses, to add dimension.
- Blend in with taste: Always apply reverb and delay as a send effect (on a separate track) and blend it with the dry signal. This gives you more control over how much effect you add to your vocals.
Affordable reverb and delay options
- Free plugins: Plugins like TAL-Reverb-4 and ReaDelay offer high-quality effects at no cost. You don’t need pricey plugins to achieve a great vocal sound with reverb and delay.

Conclusion: radio-ready vocals on a budget are totally doable
Achieving radio-ready vocals without expensive gear is completely within your reach. By focusing on room acoustics, proper vocal technique, compression, EQ, vocal layering, and smart use of reverb and delay, you can transform your recordings from amateur to professional.
Remember, it’s not about the price of your gear, but how you use it. With practice, attention to detail, and a few strategic adjustments, your vocals will sound polished, professional, and ready for the airwaves.
So, the next time you’re tempted to splurge on expensive equipment, remember these six secrets and make the most of what you already have. Happy recording!
